Skip to Content (Press Enter) Skip to Footer (Press Enter)

How to Make Christmas Origami

Level
Beginner
Time
1 hour
Budget
<10
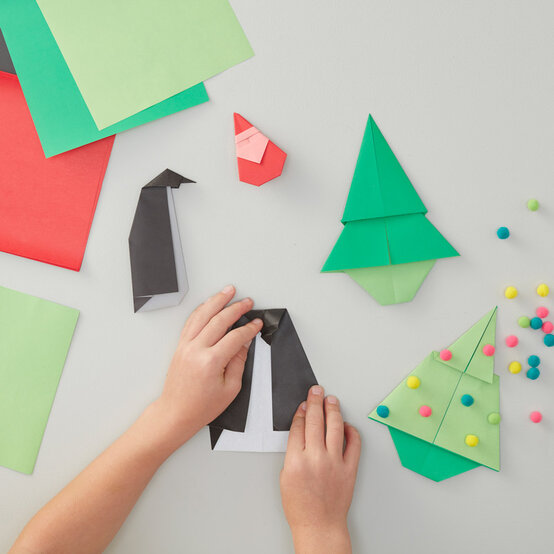
Make some more unsual decorations for your home this festive season, and fold up these fun Christmas origami characters. Origami is great for kids, and super trendy right now - why not add a hanging loop to hang them on the tree, or display in a cloche?

You will need

1 products

Viewing 1 of 1 products

Is $ 8.49

Quantity: 1
Origami Penguin Step-1

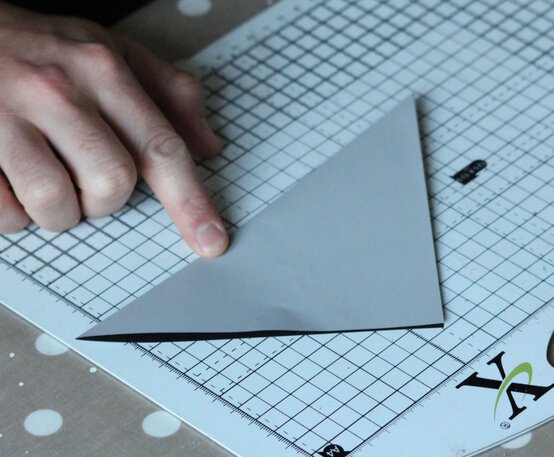
Take a sheet of 6 x 6” origami paper, black one side and white or light grey on the other. With the black facing up, fold in half diagonally.
img_7301_edit.jpg?sw=554&q=85
Origami Santa Step-1

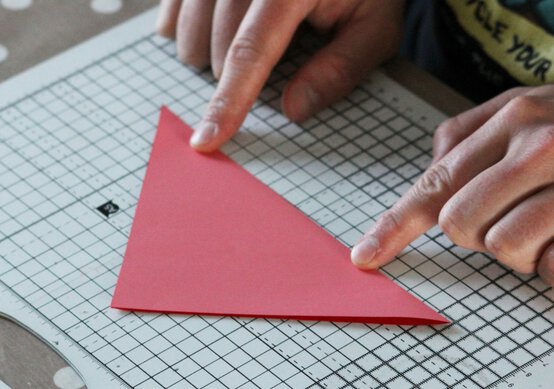
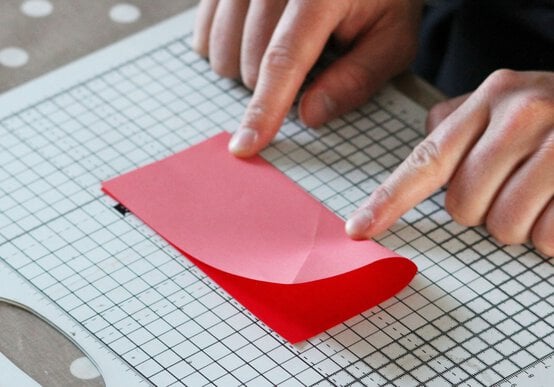
Take a sheet of 6 x 6” origami paper, red one side and white or light pink on the other. With the red side facing up, fold in half diagonally, then unfold. Fold it in half vertically, unfold, then fold in half horizontally and unfold once more.
Step-11
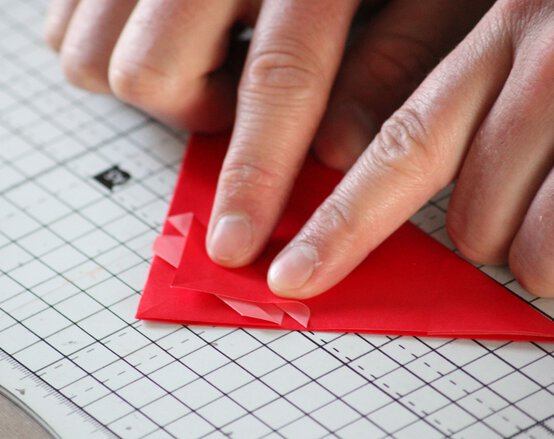
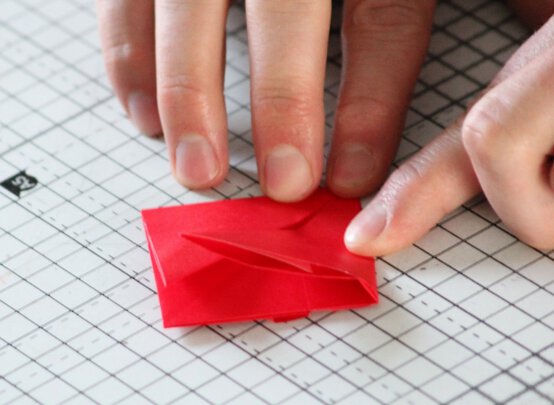
Fold this point back up again, but not all the way to the top, then fold it back down again so the new crease is in line with the one from the previous step.
img_7255_edit.jpg?sw=554&q=85
Step-12
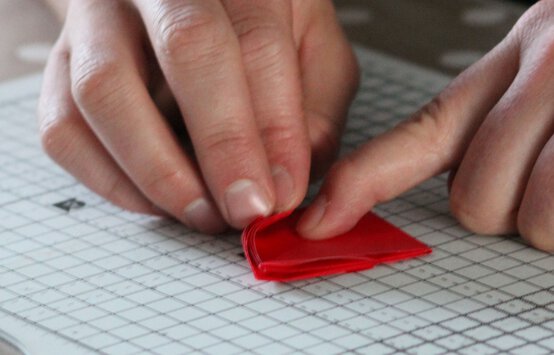
Turn the unit over, then take the bottom corners and fold them up to the top central one.
Step-13
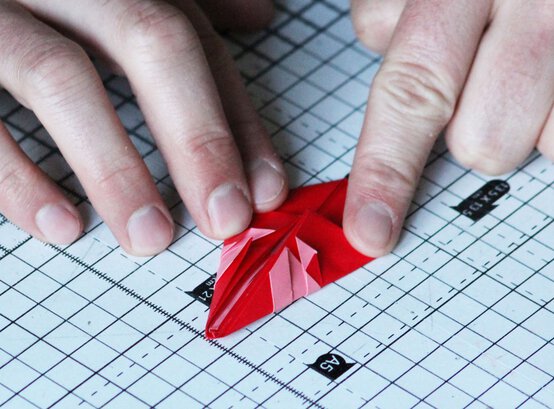
Take the two top edges and fold them into the centre.
Step-14
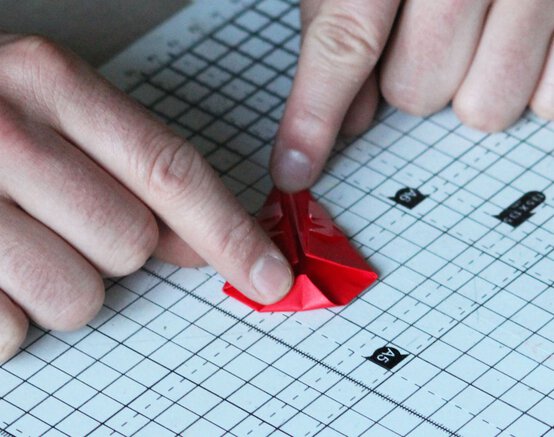
Finally, fold the bottom point up a little to create a base for Santa.
img_7292_edit.jpg?sw=554&q=85
Origami Christmas Tree Step-1

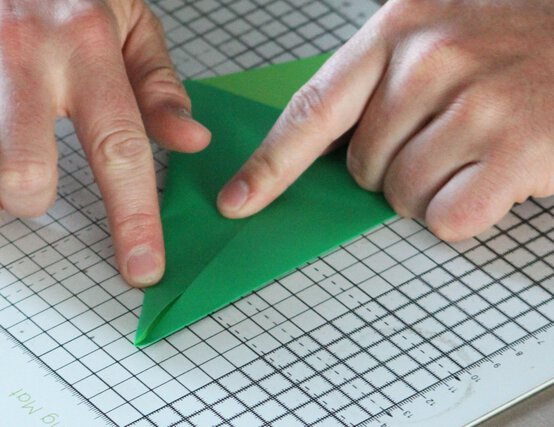
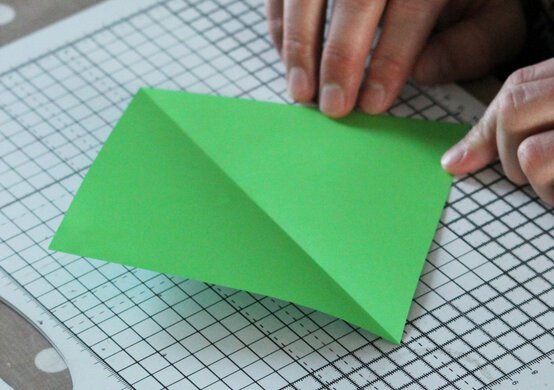
Take a sheet of 6 x 6” origami paper, green on one side and any other colour on the other side. With the green side face down, fold the sheet in half diagonally, then unfold.

Step-2
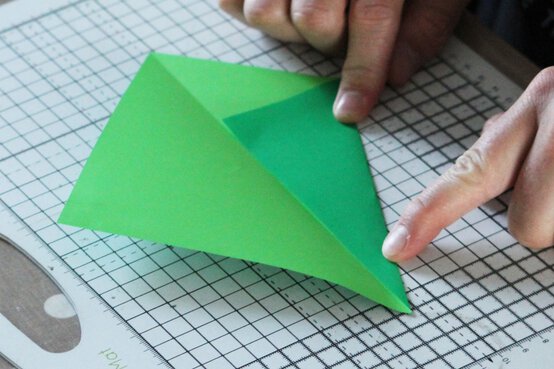
Take two adjacent edges and fold them both to the crease you just created.
Step-3
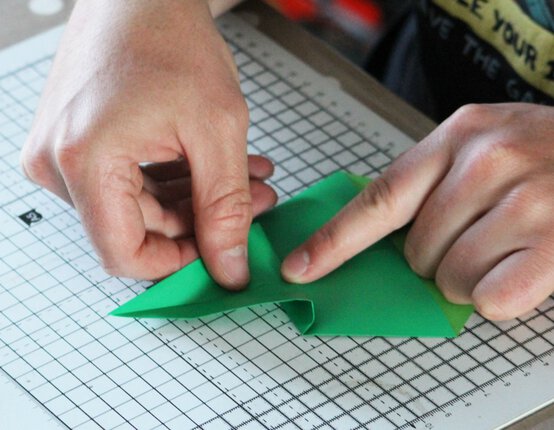
Fold the pointed tip down and back up again to create a crimp.
Step-4
Turn the sheet over, then fold up the bottom point a short distance.
img_7178_edit.jpg?sw=554&q=85
Step-5
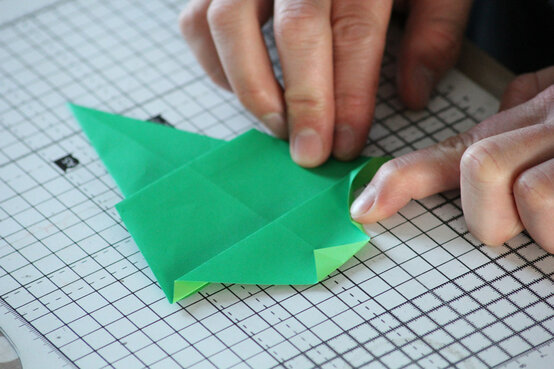
Fold the bottom up so the crease is a horizontal line between the two side corners.
img_7179_edit.jpg?sw=554&q=85
Step-6
Fold the flap you just created down, so that the crease is a little above the crease made in the previous step. This is the trunk of the tree.
img_7180_edit.jpg?sw=554&q=85
Step-7
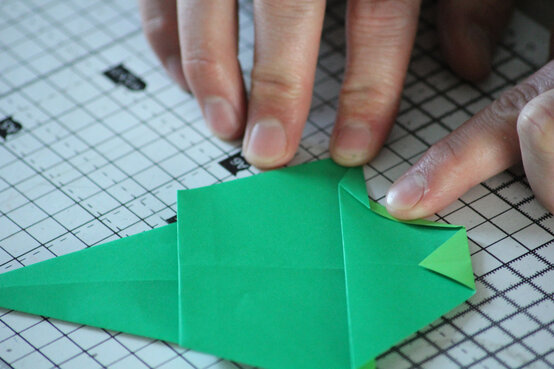
To make the trunk a little thinner, fold one side edge in a little, neatly squashing the triangle that forms at the top of the crease.
Step-8
Repeat this step on the trunk's other edge.
Step-9
Repeat this technique on the lower segment of the tree body, folding one side in then squashing the triangle, then repeat that on the other side of the body segment.
Step-10
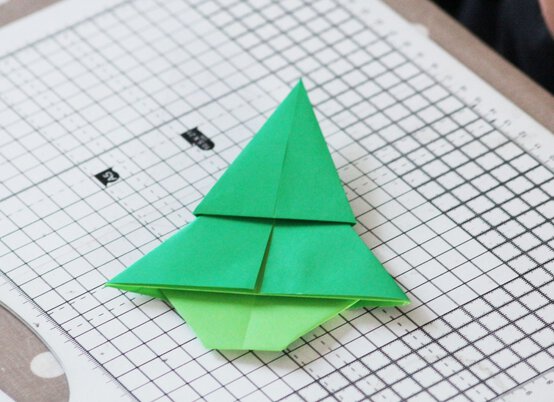
Turn the sheet over and you've finished your tree!
  • bvseo_sdk, dw_cartridge, 18.2.0, p_sdk_3.2.0
  • CLOUD, getContent, 202ms
  • questions, product

Related Products

Top