How to Make a Snowball Gravity Cake
We love penguins and we love Cadbury Snowballs, so naturally, we had to find a way to combine these two elements - say hello to our Snowball gravity cake! Using the gravity cake kit, it's so easy to make, but easy to impress!
You will need





How to make
You will need
Cake Frame Kit
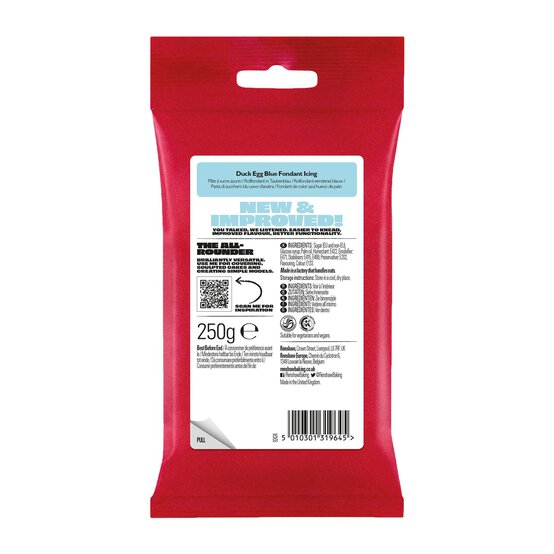
750g Renshaw Duck Egg Blue Icing
250g Renshaw Black Icing
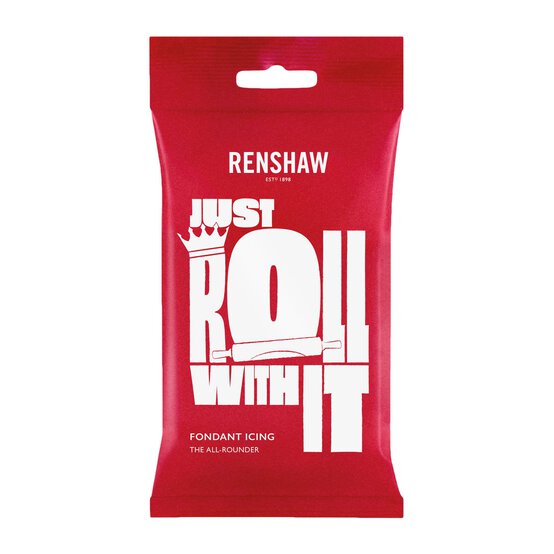
250g Renshaw White Icing
250g Renshaw Orange Icing
3 x Packets of Cadbury Snowbites – available in store
1 Packet of white candy melts
1 carton of Elmlea double cream
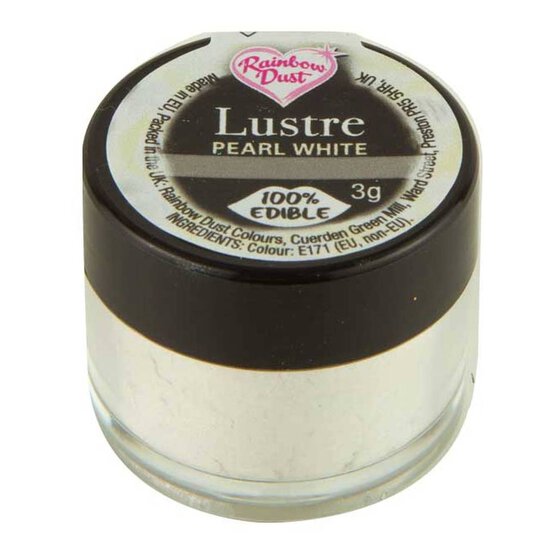
Rainbow Dust Pearl White Dust
Craft Essentials
Small Rolling Pin
Large Rolling Pin
Ball modelling tool
Fondant Smoother
Icing Smoother
Angled pallet knife
A few strands of dried spaghetti
Assemble the anti-gravity pouring kit so that the main tube is attached through the central hole in the base board.

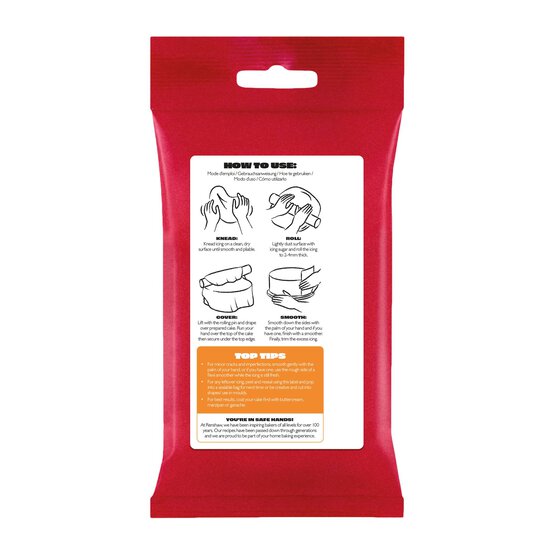
Use your fondant smoother to gently smooth the surface of the fondant icing, be careful not to mark the icing on the cake board when you are smoothing. Keep smoothing until you are happy with the appearance of the cake, remember this is a gentle motion don't press too hard. Once you have finished smoothing use a small kitchen knife to trim the icing from the edge of the board.

Set the cake to one side. In a milk pan heat half the carton of double cream over a gentle heat until it is bubbling, pour the cream over half the candy melts and stir with a spoon until the mixture is smooth and runny. If after a few minutes the buttons are not melted place them in the microwave for 10 second intervals.

Allow the chocolate and cream mixture to cool slightly until it has a pourable texture and leaves ribbons when you dribble it from a spoon. To check the texture use a spoon to dribble some down the side of an upturned glass, it should run freely and set before it reaches the bottom. Put the mixture into a piping bag or squeezey bottle and drip down the sides of the cake, if you squeeze the mixture on the edge of the cake it will run down and form natural drips. Cover the top of the cake with the mixture, don't worry if it's not even as this will create the snow texture. Keep the left over chocolate mixture.

Insert the second part of the anti-gravity cake kit to give a gentle sloping angle, use your angled spatula to spread some of the chocolate mixture on to the exposed tube (it should have thickened by now) start to add the snow bites one by one round the base of the tube.

Insert the second part of the anti-gravity cake kit to give a gentle sloping angle, use your angled spatula to spread some of the chocolate mixture on to the exposed tube (it should have thickened by now) start to add the snow bites one by one round the base of the tube.

Break off some small pieces of white icing and roll them into little pea shaped balls, add a small amount of the rainbow dust pearl white powder to a dish and roll the balls around in it until they are covered in the paste (use a soft clean paint brush to help with this). Use the balls to fill in any gaps you have in the snow bites and to finish off the top of the slide.

Once you have finished filling in all the gaps you can mix the leftover dust with a few drops of vodka or lemon juice and gently brush it over the top of the chocolate to give it a shimmer effect, this step is optional. Set the cake aside and move on to making the penguins.
Roll approximately 30g of black fondant icing into a ball and shape into a slight cone, this is to make the body of the penguin. Insert a piece of dried pasta into the middle of the fondant and break off leaving enough to attach the head. You can use a cocktail stick as structure if you prefer, I use pasta incase a child picks the models up and tries to eat them. (Picture 1)


