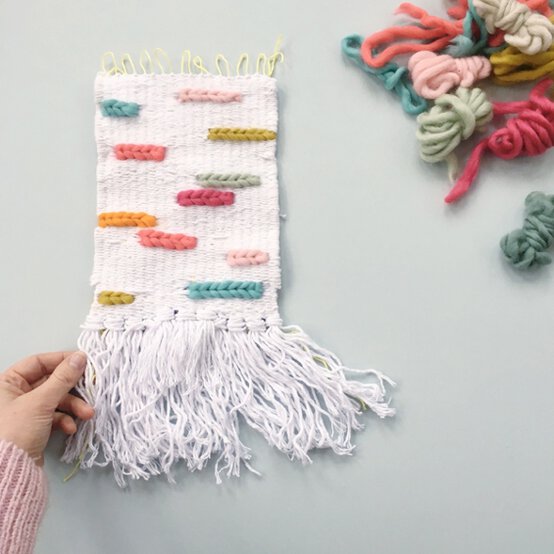
How to Make a Soumak Colour Pop Weave
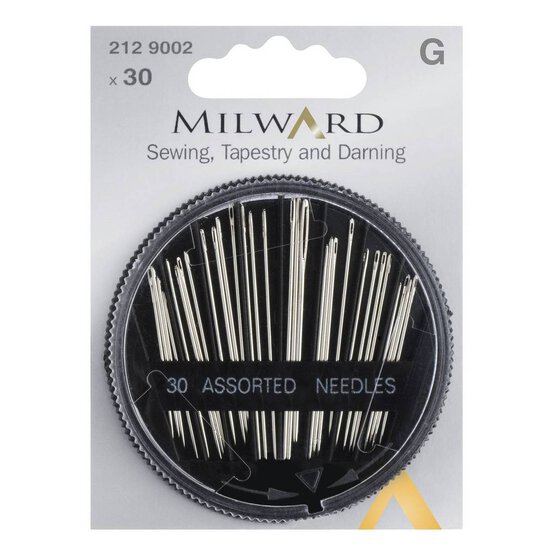
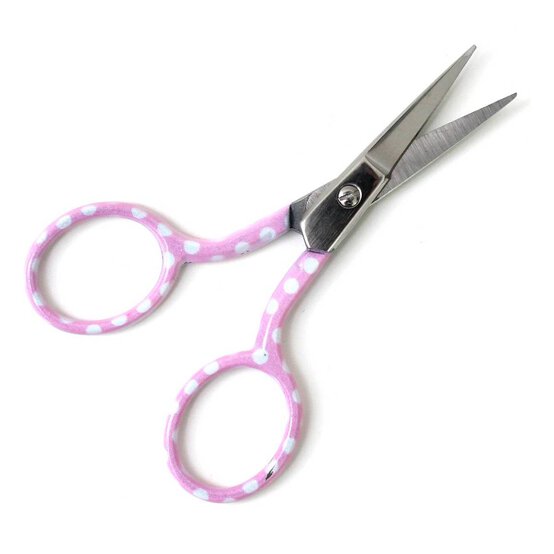
You will need

How to make
Start by attaching the metal rods included in the Rico Small Weaving Loom to the outermost slots in the loom and tightening them. This will stop your weave from pulling in at the sides.

If you would like to add tassels to your weave, here's how! Wrap Yarn A around your hand (or piece of card if you would like a longer tassel) several times. I wrapped mine approx. six times – the more you wrap, the thicker your tassel will be.
I made all my soumaks first, so that I could plan my colours and check I was happy with the layout before I did the main body of the weaving.
Tabby weaving is the most basic form of weaving, taking the weft thread over and under the warp thread. When you reach the edge of the loom and work back in the opposite direction, make sure you are doing the opposite to the row before and weave under and over the warp threads that you wove over and under previously.
Using a few lengths of Yarn A, tie a series of knots along the top of your work, as you did at the base. Now gently unscrew and slide out the metal rods along the side of your work.