Skip to Content (Press Enter) Skip to Footer (Press Enter)

How to Make Yarn Wrapped Baubles

Level
Beginner
Time
1 hour
Budget
<10

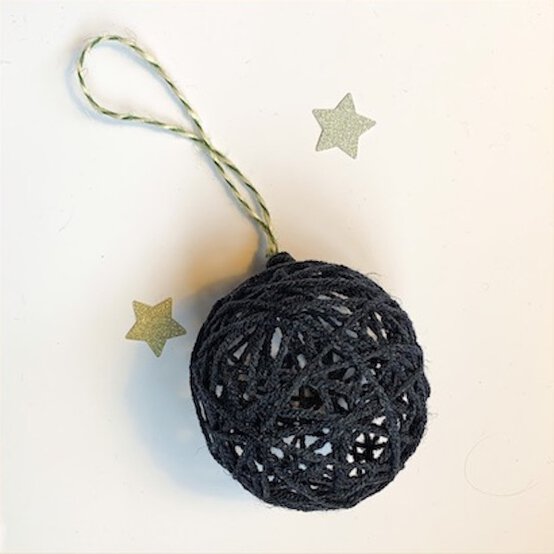
Create these super on trend yarn-wrapped baubles this year – a great home craft for adults and children alike. These decorations are sturdy and will be able to be brought out year after year as part of your treasured Christmas decoration collection.

You will need

3 products

Viewing 3 of 3 products

Is $ 6.49

Quantity: 1

Is $ 4.49

3 for 2 JT
Quantity: 1

Is $ 4.49

Quantity: 1

How to make

You will also need some cardboard.

Present Bauble: Step 1

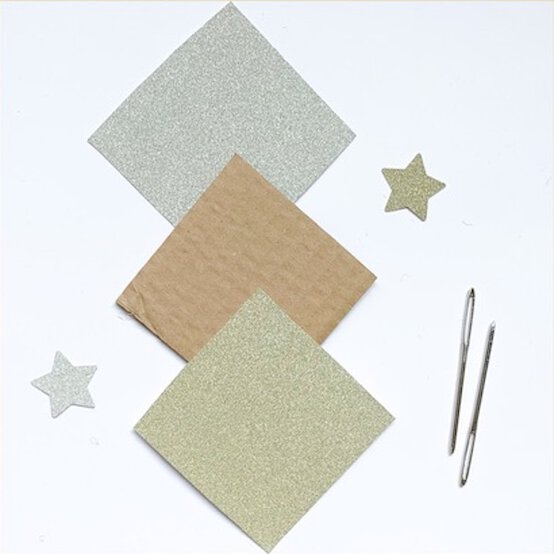
Cut out a one square of cardboard and two from ombre glitter card, making the glitter card a few extra millimetres bigger than the cardboard to ensure all the card edges are covered when you wrap the yarn.
present-1.jpg?sw=554&q=85
Cut Out Star Bauble: Step 1
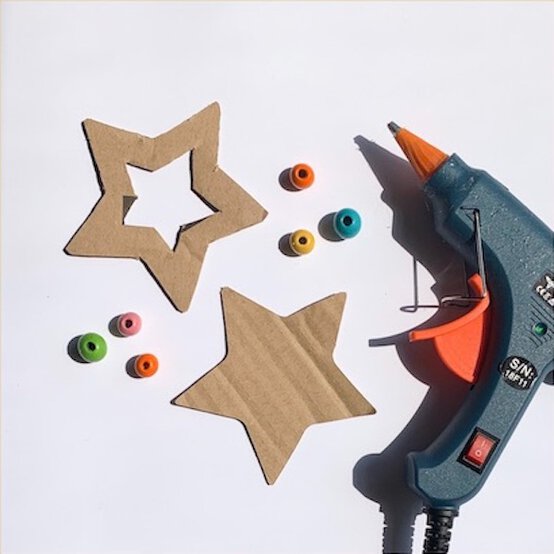
Cut Out Star Bauble Using the template supplied, trace and cut out the star shape onto cardboard.
stars-1glue.jpg?sw=554&q=85
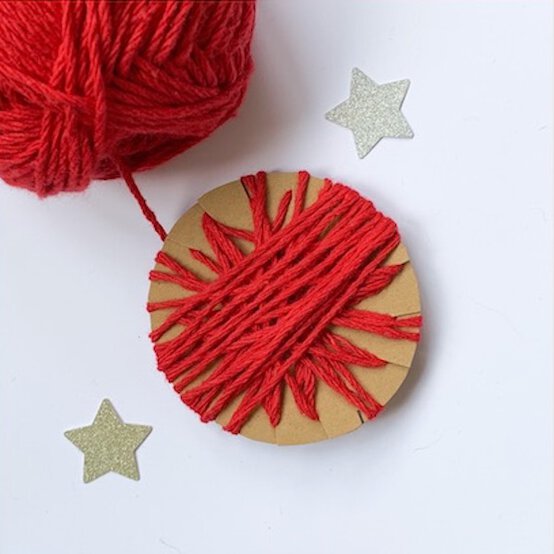
Flat Bauble: Step 1
Flat Bauble Trace and cut out the circle shape out of cardboard. To give the yarn extra security, cut around the circle small slits. This secures the yarn, once you start wrapping.
flat-bauble-1.jpg?sw=554&q=85
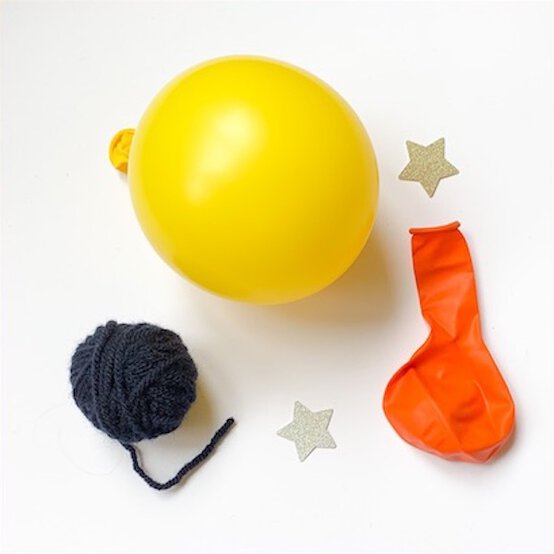
Cage Baubles: Step 1
Cage Baubles Blow up a balloon to the size of an orange, ensuring the shape is round.
cage-baubles-1.jpg?sw=554&q=85
Step 2
Measure 5 lengths, one length is roughly the length of both of your arms, held out sideways.
Step 3

In a small glass, make up a solution of PVA glue and water in equal parts. Should be no more than a couple of centimetres – you do not want to soak the yarn so it is dripping.

Step 4
Apart from about 5 inches of the yarn that you want to keep dry, add the 5 lengths of yarn into the mixture – just lightly coat in the mixture. Leave in the glass.
Step 5

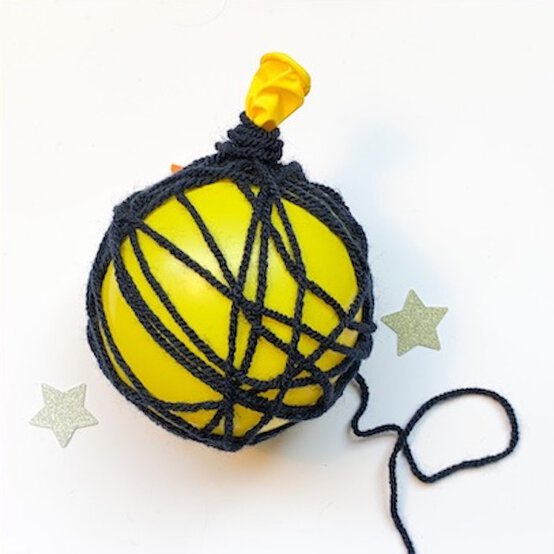
Using the dry yarn, you left out of the glass, you will need tie the yarn around the bottom of the knot on the balloon. Wrap, and tie the yarn a few times, to give the yarn extra security and longevity on your finished decoration.
cage-baubles-2.jpg?sw=554&q=85
Step 6
Cut a length of twine about 5 inches, and tie to create a loop. Place this over the top of the knot on your balloon. Then wrap the yarn round a few times around the twine and the knot of the bottom. Build it up, so it creates an anchor at the top. This secures the yarn, once you start wrapping.
cage-baubles-3.jpg?sw=554&q=85
Step 7
As you wrap the yarn around the balloon, make sure the thickness of the coverage is consistent, and squeeze the yarn to remove any excess water, as this could discolour the yarn. Continue wrapping, and ensure the yarn does not get too dense; you want to be able to see through it when the decoration is hanging on your tree. You can use the knot at the top, to wrap the yarn around – to ensure your yarn does not slip as you create the cage. Once you are happy with the coverage, or at about 10 inches from the end of the yarn you need to tie o
Step 8

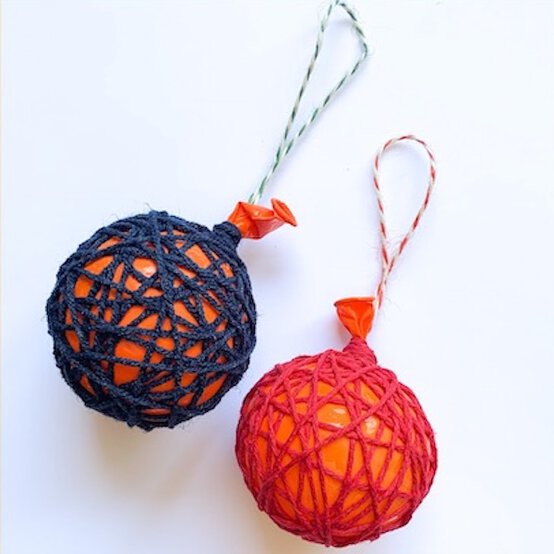
To finish off, wrap the remaining yarn around the top, around the twine, and tuck it in neatly so you cannot see it. Hang somewhere overnight, out of reach of little hands or animals.
Step 9
The next day, the yarn will have dried enough, for you to remove the balloon. Hold securely, but gently, and pull the tip of the balloon up so it is stretched out, so you cut underneath the knot of the balloon. When it pops, it will deflate and come away from the yarn. Carefully, reach in using tweezers or fingers, and pull the remaining balloon out and dispose of carefully.
cage-bauble.jpg?sw=554&q=85
  • bvseo_sdk, dw_cartridge, 18.2.0, p_sdk_3.2.0
  • CLOUD, getContent, 100ms
  • questions, product

Related Products

Top