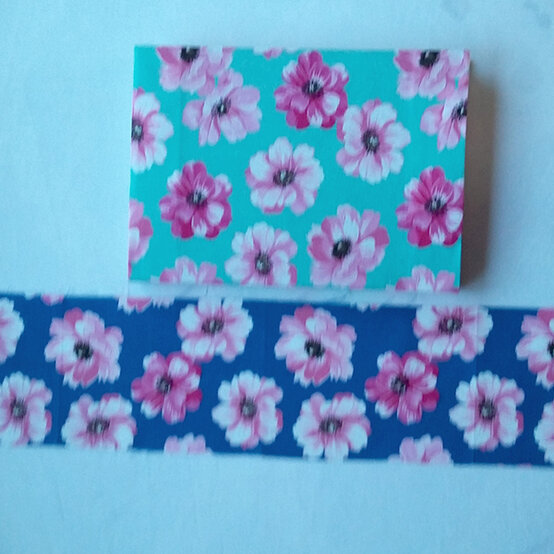
How to Sew a Fat Quarter Notebook Cover
Creating a personalised notebook cover can be a satisfying and fun process! Fabric is a great way to add some personality and protection. Follow this tutorial written by sewing expert Miss Libby Rose, who uses one of our new fat quarter designs to create a snug cover for a sketchbook, with the optional addition of a button wrap.
You will need


How to make
Lay out your fat quarter fabric with right side facing the table and place your open notebook on top.
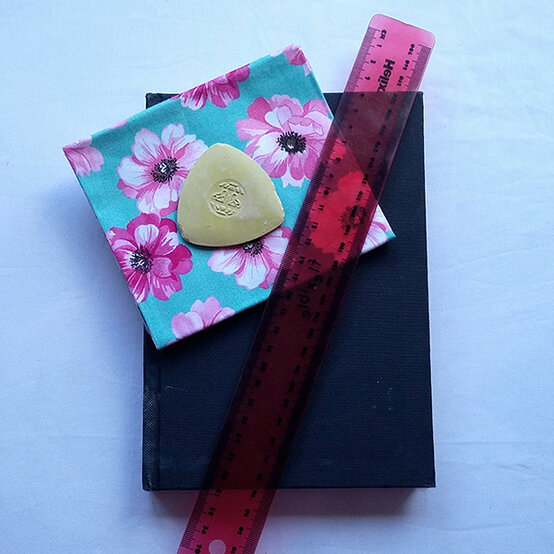
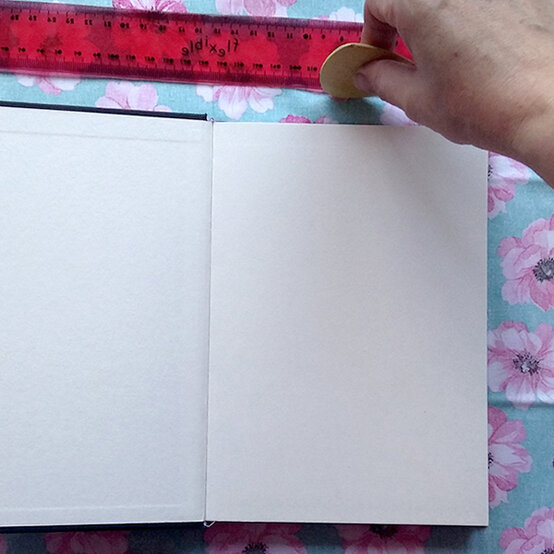
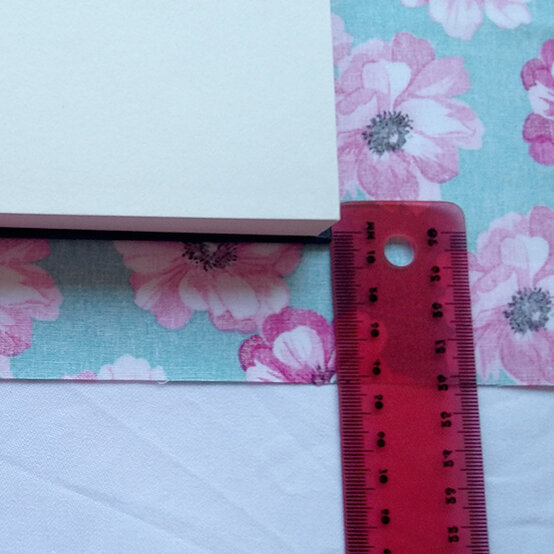
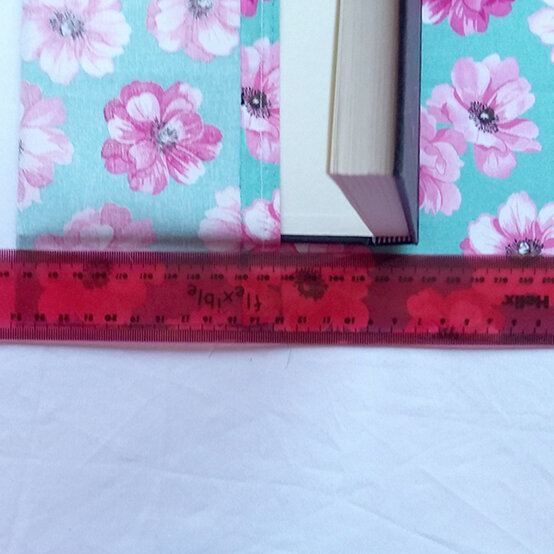
Check the 2 x sides (that will create a flap) go ahead and fold these in. The more ‘flap’ you have the nicer it looks inside but the bigger the flap the trickier it is to slide your notebook in when its ready. So you want these flaps to be 1/3 – 1/2 in from the edge of the cover.
Once you are happy with the size of the flaps, turn the edges of these 2 x sides inwards to create a hem. Fold in the side 1cm then again another 1cm, press and pin. Then sew these hems in place.
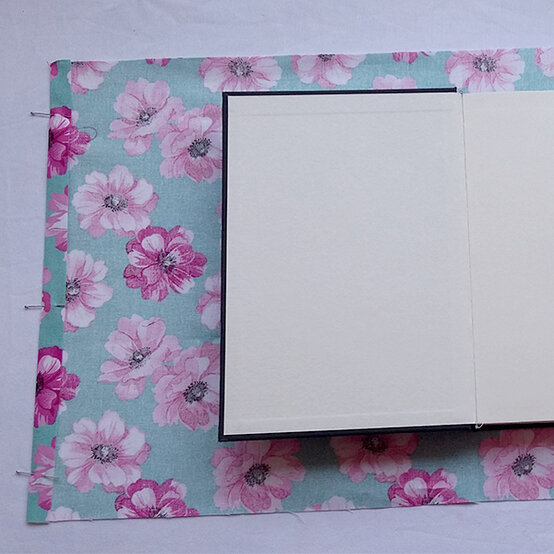
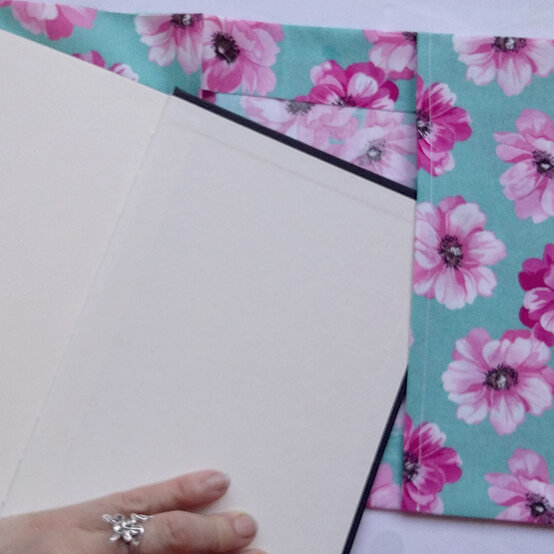
Place the fat quarter on the table so it is now right side facing you. Place the notebook in the centre of the fat quarter. Fold the pages up on ONE SIDE ONLY so the cover and spine on the other side is laying flat.
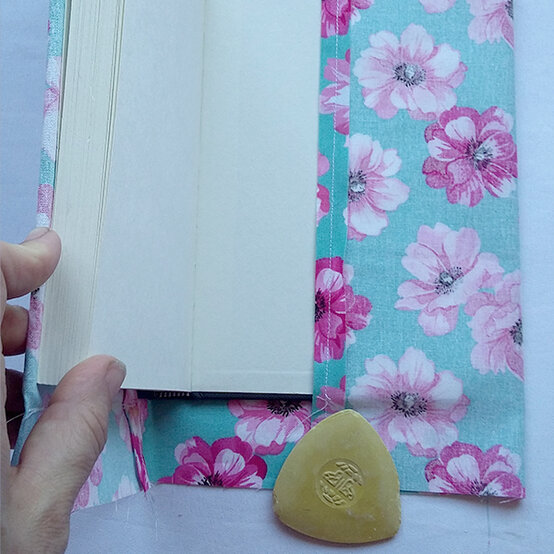
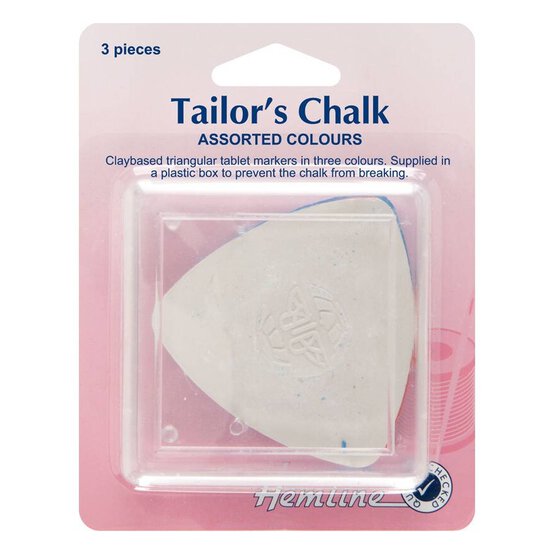
Fold the fabric into the cover on this one side only to create a flap. Pin and chalk in place at the top and bottom leaving a very small gap for your stitch line on these 2 x flaps.
Sew one side up, then repeat on the other side. It is very important for this to work well that you do one side at a time.
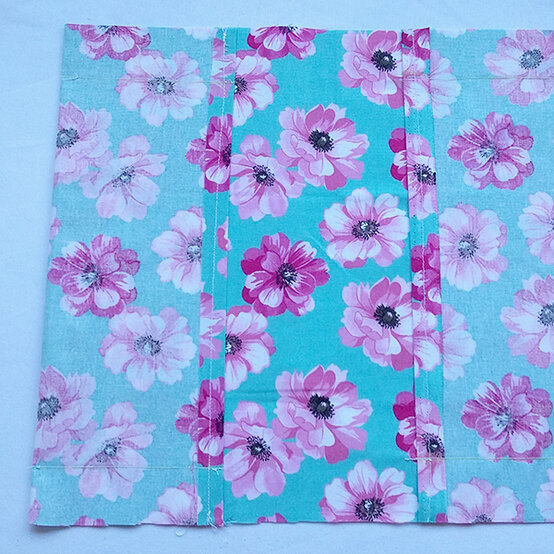
Cut off the corners and turn it through to the right side and push out the corners using a blunt instrument (like a chopstick!)
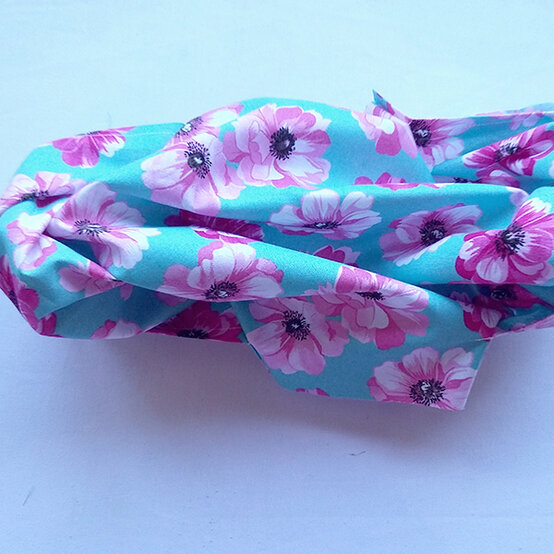
Press and slide your notebook inside.
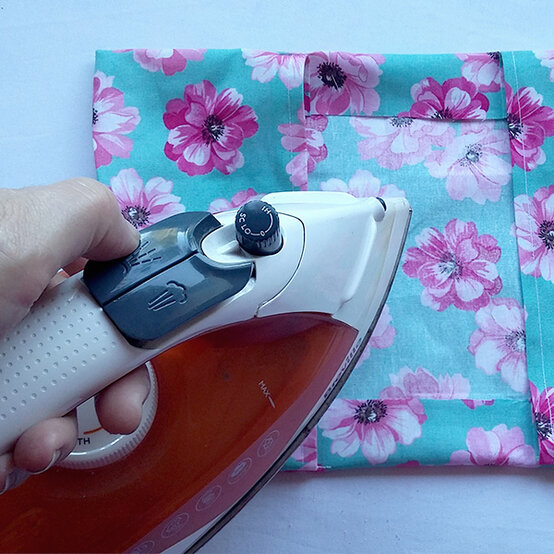
Fold your length of fabric in half lengthways, ensure you are happy with the width and length and that it overlaps enough for the button and buttonhole.