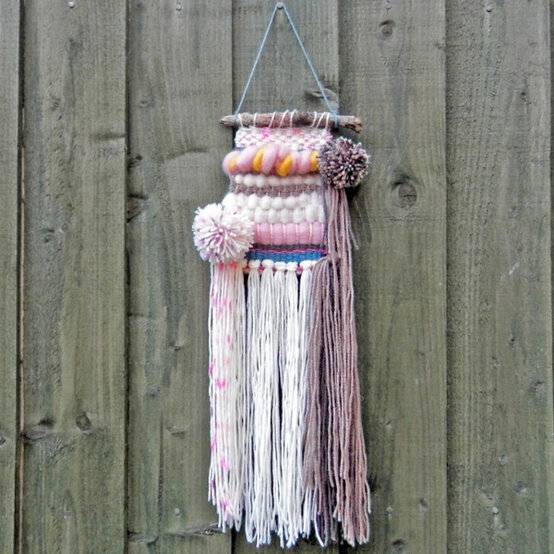
How to Weave with a Frame Loom
So many things in life inspire me; I love learning and using various techniques to push material boundaries and challenge perceptions. My passion is to inject life, surprise and love into everything i make! Working in an expressive and free spirited way, the creative process is integral to my work and unlocks new ideas for me to experiment with. My love for drawing has developed into the three-dimentional and using yarn in different ways, such as with crochet and weaving. I currently make and sell handwoven wallhangings and crocheted accessories.Find Hannah on Etsy », Facebook », Instagram » and Twitter »
You will need

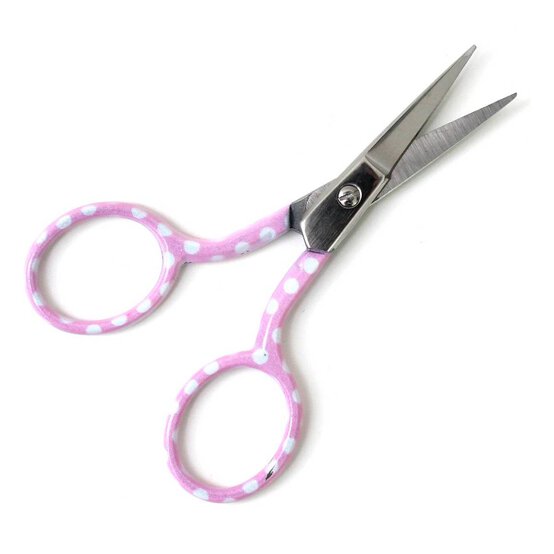
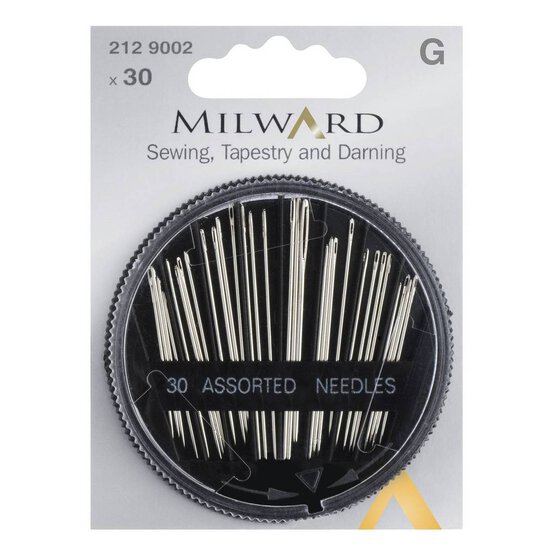


How to make
Assemble your loom so that one bar is along the top and one bar is along the middle, this will give you a weaving up to 15 cm long, not including the length of fringe. Follow the Dimensions Large Weaving Loom » instructions to construct your loom.
Using your wooden needle (with twine) and weaving from the right side to the left, take the needle under the first string, over the second, under the third and so on until you reach then end of the row.
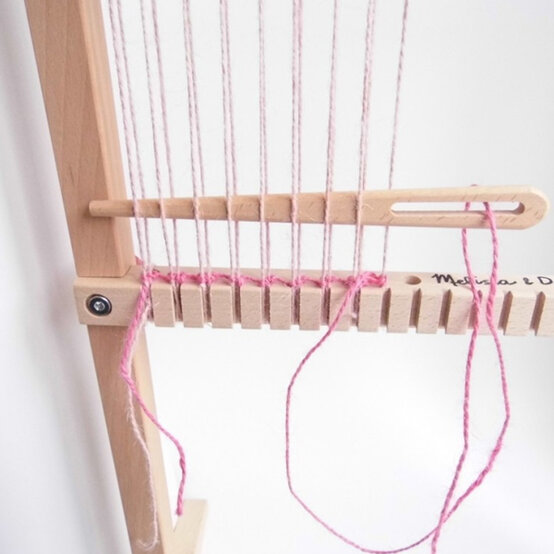
To make the fringe on your weave, decide what yarn and colours you want to have and how long you want the fringe to be. I decided I wanted the fringe to be 30 cm long. To do this I cut five pieces of yarn (WI Cream Soft and Chunky Yarn 100g ») at 60 cm long (you need to cut them double the desired length). With the five pieces of yarn together, from the left hand side of the weave, pull them under both the first and second strings so that the yarn hangs down both sides to measure 30 cm long.

Choose your colour yarn to weave with (I am using WI Teal Soft and Chunky Yarn 100 g ») and cut a length of approx 2 m .With your threaded wooden needle, start from the left hand side and go over the first string, under the second, over the next and so on until you reach the second from last string on this row. (Ignore the last string as we now need to fill in this area with weaving until it is in line with the top of the large fringe knots on the last string).
Using 60 cm of pink twine, weave from the third string, starting under then over and so on until then end of the row- this time including the final string and weave back alternately again. Tuck in the ends.

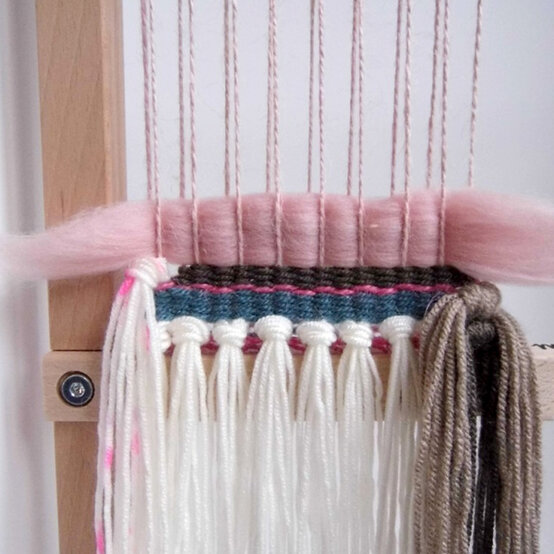
Your wool roving can be as thick as you like, I tore off a piece of Powder Pink Natural Wool Roving » approx 2.5 cm thick and a little wider than the width of the weaving so that it can be tucked in both ends. Weave your roving wool to create one thick, full length row.
Using the Clover Pom Pom Maker », make a pompom with the WI Pink Flecks Soft and Cuddly Yarn », measuring approx 6.5 cm in diameter across. Add your pompom to the weaving by taking the excess two strands and tying the pompom to the first string on the left hand side. This should stay in place easily.

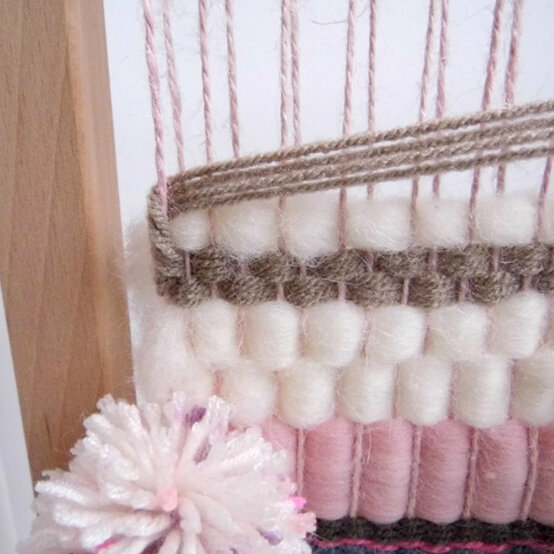
Using four strands (WI Premium Acrylic Yarn Biscuit ») measuring approx 1 m, weave in unison two full rows, from left to right. You can leave the excess yarns hanging at the end as we're going to use these again in a minute.
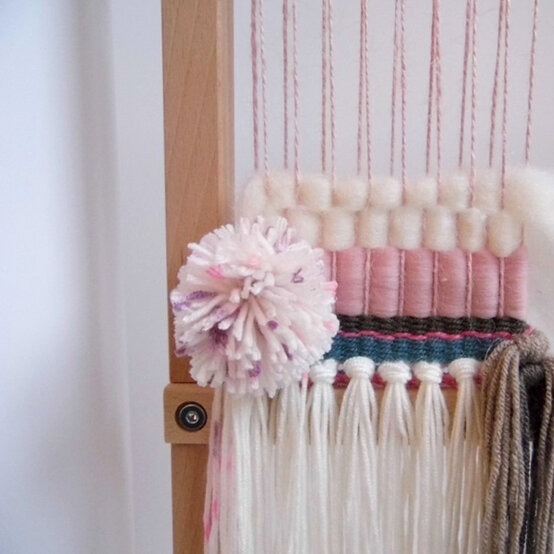
Weave another full row of white roving, tucking in the ends to the back of the weaving. Then pick up the left over yarns (WI Premium Acrylic Yarn Biscuit ») and weave another full row with them.
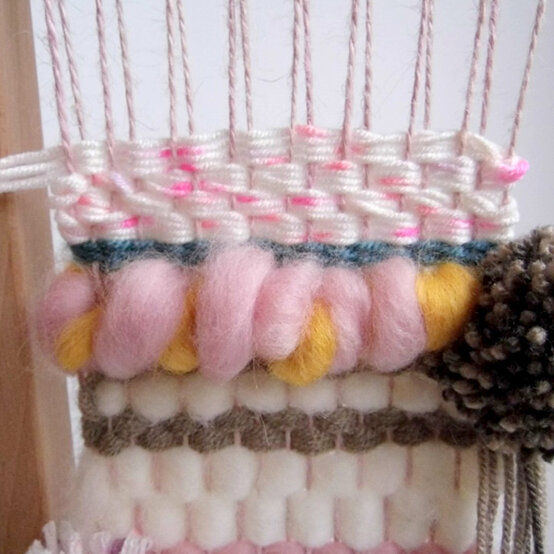
Using four yarns together (WI Pink Flecks Soft and Cuddly Yarn ») measuring approx 1 m each, weave four rows. At the end, tie the yarn and tuck in the ends to finish off.
With the loom facing you again, you need to add your hanging rod. You need to have approx 10 cm gap left between the top of your finished weaving and the frame, so that you can easily tie off your weaving onto your stick. Weave your stick the whole way across your strings.
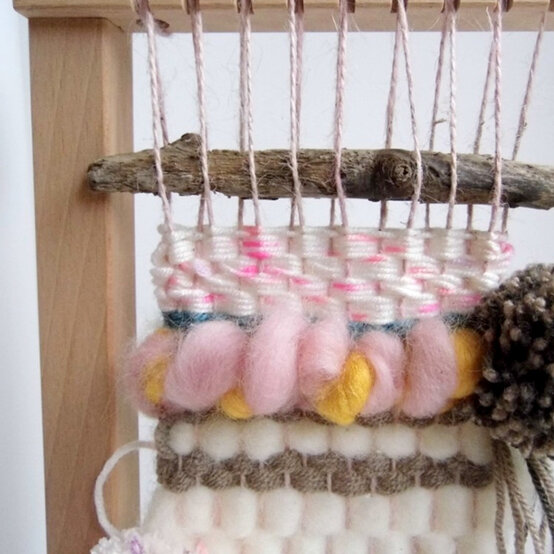
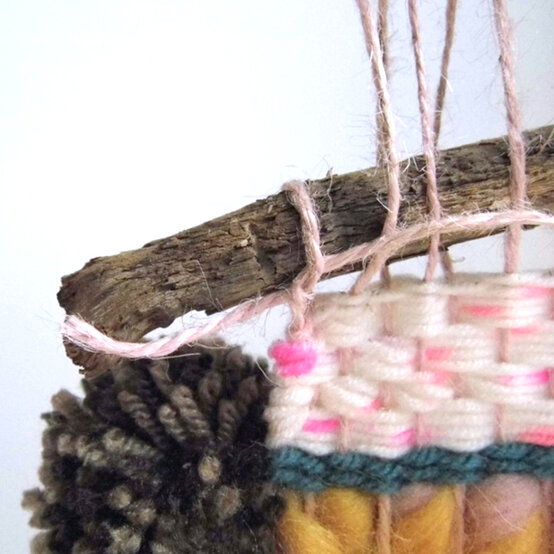

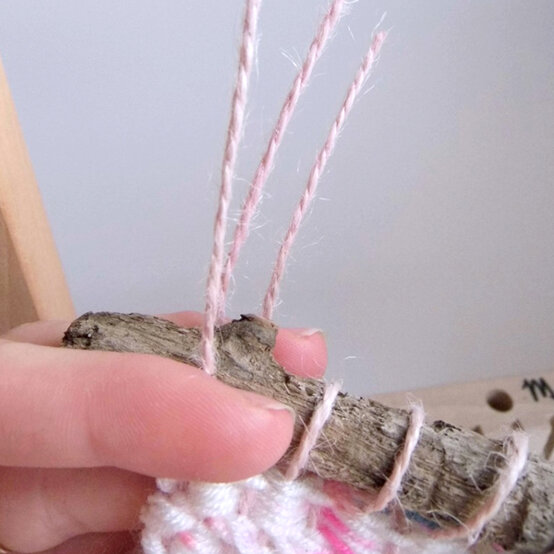
Peel your weaving off of the bottom knotches, if it hasnt come off already. This should be fairly sturdy. You should have eight 'U' shapes from the notches. Each 'U' shape needs to be cut and tied together.
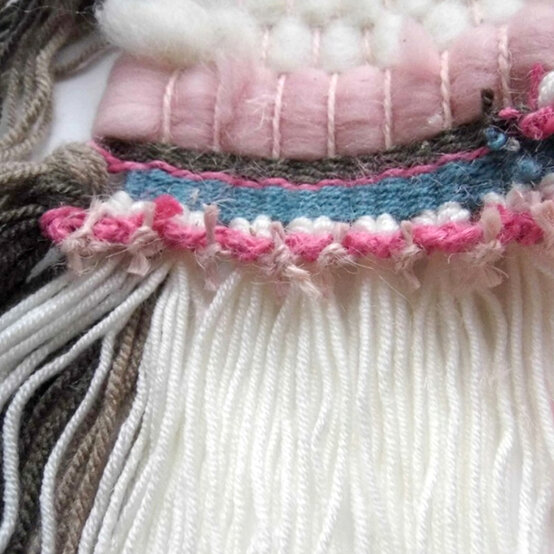
Measure out a length of yarn or twine, according to the height you want your weaving to hang from. Tie the yarn around the Stick / Dowel Rod and do a knot. Now you can hang your hand-woven wall hanging for everyone to admire!